General Electric Window Air Conditioner Manual: A Comprehensive Guide
Navigating the complexities of your GE window AC requires a detailed manual; explore features‚ troubleshooting‚ and maintenance for optimal cooling performance and longevity.
Understanding Your GE Window AC Unit
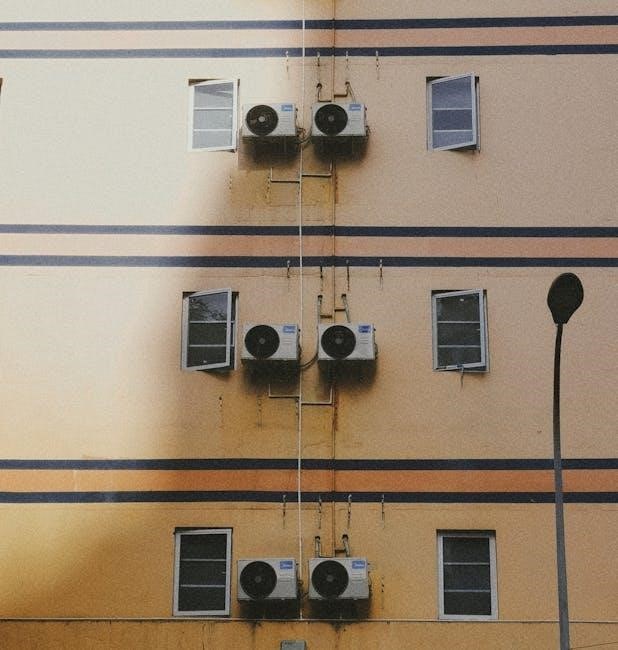
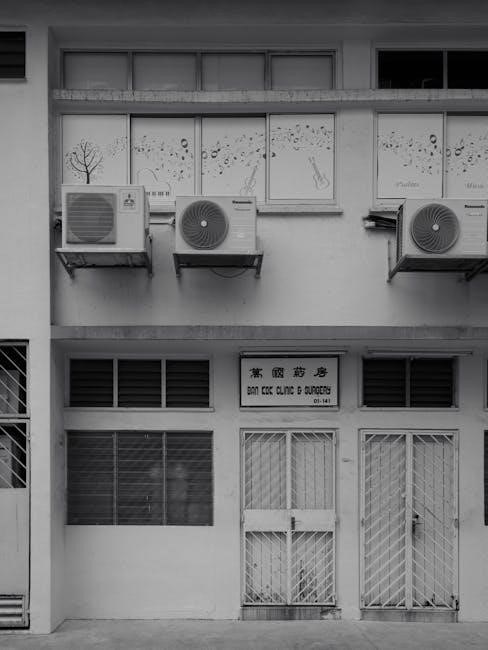
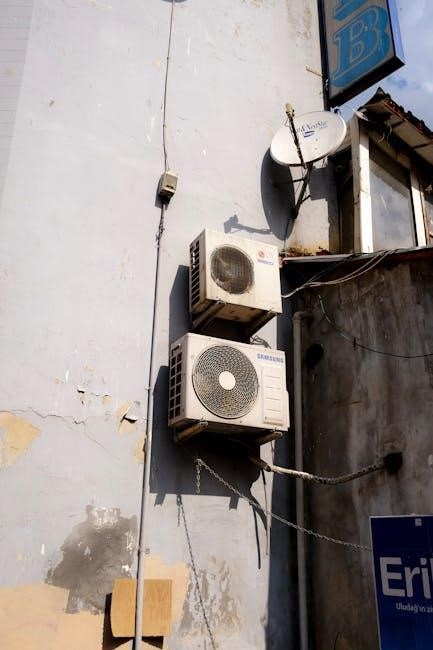
Your GE window air conditioner is designed to provide efficient and localized cooling. Before operation‚ familiarize yourself with its core components – the front grille (housing the air filter)‚ the control panel‚ the side panels‚ and the rear chassis containing vital components like the compressor and condenser.
Understanding these parts aids in maintenance and troubleshooting. GE units utilize various cooling technologies‚ including adjustable fan speeds and cooling modes. Different models offer varying BTU (British Thermal Units) ratings‚ indicating cooling capacity; higher BTU suits larger spaces.
Proper understanding ensures optimal performance and extends the unit’s lifespan. Always refer to your specific model’s manual for detailed diagrams and explanations tailored to its features.
Model Number Identification & Where to Find It

Locating your GE window AC’s model number is crucial for accessing specific documentation‚ parts‚ and support. The model number is a unique identifier for your unit‚ typically consisting of letters and numbers. It’s essential when contacting GE customer service or ordering replacement parts.
Generally‚ you can find the model number on a sticker or plate affixed to the unit itself. Common locations include the side panel‚ the rear chassis‚ or sometimes inside the front grille area. Carefully inspect these areas.
The sticker often also displays the serial number and manufacturing date. Having both the model and serial numbers readily available streamlines any service requests or warranty claims. Keep this information in a safe place for future reference.
Safety Precautions & Important Warnings
Prioritizing safety is paramount when installing and operating your GE window air conditioner. Always disconnect the unit from the power source before any cleaning or maintenance. Never operate the AC with a damaged power cord or plug. Avoid using extension cords‚ as they can overheat and pose a fire risk.
Ensure the window is securely braced to support the AC’s weight. Improper installation can lead to the unit falling and causing injury. Keep flammable materials away from the unit. Do not insert objects through the air vents‚ as this can damage the internal components.
This appliance is not intended for use by individuals with reduced physical‚ sensory‚ or mental capabilities‚ or by children‚ without supervision. Follow all warnings and instructions carefully to prevent accidents and ensure safe operation.
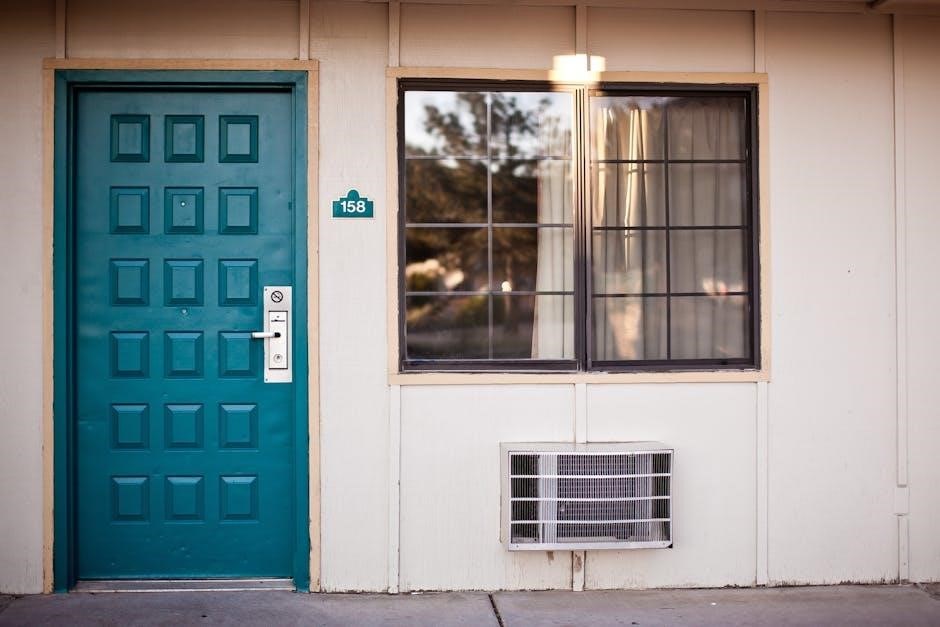
Installation Instructions: A Step-by-Step Approach
Proper installation is crucial for efficient operation. First‚ ensure your window meets the unit’s dimensional requirements. Assemble the side curtains‚ adjusting them to fit your window’s width. Securely mount the mounting brackets to the window sill using the provided screws – ensure they are level.
Carefully lift the air conditioner and place it onto the brackets. Extend the side curtains and secure them with screws or foam insulation to prevent air leakage. Verify the unit is stable and properly supported.
Finally‚ connect the power cord to a grounded outlet. Double-check all connections and ensure the unit is level before powering it on. Refer to the detailed diagrams in your manual for visual guidance.
Preparing the Window for Installation
Begin by thoroughly cleaning the window and sill‚ removing any debris or obstructions. Measure the window’s width and height to confirm compatibility with your GE AC unit. Check the window’s structural integrity; it must be able to support the unit’s weight safely.
Remove any existing window screens or hardware that may interfere with installation. Inspect the window sill for rot or damage‚ addressing any issues before proceeding. Ensure the window opens and closes smoothly.
Gather necessary tools: a screwdriver‚ measuring tape‚ level‚ and potentially foam insulation for sealing gaps. Prepare the side curtains included with your unit‚ readying them for adjustment and attachment.
Mounting the Air Conditioner Securely
Carefully lift the GE window AC unit and position it within the prepared window opening. Ensure the unit is level using a spirit level – adjust the side curtains as needed for a snug fit. Secure the mounting brackets to the window frame using the provided screws‚ tightening them firmly but avoiding over-tightening.
Double-check the unit’s stability; it should not wobble or shift. Install the side curtains to fill any gaps between the unit and the window frame‚ minimizing air leakage and maximizing cooling efficiency.
Consider using foam insulation strips for additional sealing‚ particularly around the top and bottom of the unit. Verify all screws are properly tightened before proceeding to the electrical connection.
Electrical Connection Requirements
Before plugging in your GE window AC‚ verify your outlet meets the specified voltage and amperage requirements – typically 115V/60Hz; Avoid using extension cords or multi-plug adapters; connect the unit directly to a grounded‚ three-prong outlet.
Ensure the circuit breaker dedicated to this outlet is appropriately sized to handle the AC’s power draw. A dedicated circuit is highly recommended to prevent overloading and potential electrical hazards.
Inspect the power cord for any damage before use. If damaged‚ do not operate the unit and contact GE customer support. Proper grounding is crucial for safety; never remove the grounding prong from the plug. Always switch off the power before any maintenance or cleaning.
Operating Your GE Window Air Conditioner
Familiarize yourself with the control panel to effectively operate your GE window AC. Most models feature intuitive controls for power‚ cooling mode‚ fan speed‚ and temperature adjustment. Begin by selecting your desired cooling mode – typically ‘Cool’‚ ‘Fan’‚ or ‘Dry’ (dehumidify).
Utilize the temperature control to set your preferred room temperature. Lower temperatures increase cooling intensity‚ while higher temperatures conserve energy. Experiment with fan speeds to balance airflow and noise levels.
Explore additional features like ‘Energy Saver’ or ‘Sleep’ mode for optimized performance and comfort. Refer to the specific model’s manual for detailed instructions on utilizing all available functions.
Control Panel Overview & Functionality
The control panel is your central hub for operating the GE window AC. Typically‚ you’ll find a power button‚ mode selection (Cool‚ Fan‚ Dry)‚ temperature adjustment buttons (+/-)‚ and fan speed controls (Low‚ Medium‚ High). Some models include a digital display showing the set temperature and operating mode.
Additional buttons may activate features like ‘Energy Saver’‚ ‘Sleep’‚ or a timer function. The remote control‚ if included‚ mirrors these functions for convenient operation from across the room. Understanding each button’s purpose is crucial for maximizing the AC’s performance.
Consult your specific model’s manual for a detailed diagram and explanation of all control panel features.
Cooling Mode Operation
To activate cooling mode‚ press the ‘Cool’ button on the control panel. Use the temperature adjustment buttons (+/-) to set your desired room temperature. The AC will then begin to cool the air‚ cycling on and off to maintain the set temperature. Fan speed can be adjusted independently for optimal comfort – higher speeds provide faster cooling‚ while lower speeds are quieter.
Many GE window ACs feature ‘Auto Cool’ which automatically adjusts fan speed based on the temperature difference. Ensure the air filter is clean for efficient cooling. Avoid setting the temperature too low‚ as this can increase energy consumption. Refer to your model’s manual for specific cooling range details.

Fan-Only Mode & Ventilation
Utilizing the fan-only mode provides simple air circulation without cooling. Press the ‘Fan’ button on the control panel to activate this feature. Select your preferred fan speed – low‚ medium‚ or high – using the corresponding buttons. This mode is ideal for days when cooling isn’t needed‚ but you desire fresh air movement within the room.
Fan-only mode can also supplement heating systems by distributing warm air more effectively. Regularly cleaning the fan blades ensures optimal airflow. Some models offer a ‘Vent’ setting‚ drawing in fresh air from outside; however‚ use caution with outdoor air quality. Always prioritize a clean air filter for improved ventilation.
Dry Mode (Dehumidifying) Explained
Dry mode‚ or dehumidifying‚ operates the air conditioner to remove excess moisture from the air‚ even without significantly lowering the temperature. Activate this mode by pressing the ‘Dry’ or ‘Dehumidify’ button on your GE unit’s control panel. The fan will run at a lower speed during this process to maximize moisture removal.
This is particularly useful in humid climates or damp rooms‚ reducing stickiness and preventing mold growth. Water collected during dehumidification is typically drained through the unit’s drainage system; ensure proper drainage to avoid water buildup. Note that dry mode may slightly cool the air as a byproduct of the dehumidification process‚ but cooling isn’t its primary function.
Maintenance & Troubleshooting
Regular maintenance ensures optimal performance and extends the lifespan of your GE window AC. Key tasks include cleaning or replacing the air filter monthly‚ and annually cleaning the evaporator and condenser coils to maintain efficiency. Always disconnect power before any maintenance.

Troubleshooting common issues is often straightforward. If the unit isn’t cooling‚ check the filter‚ ensure proper window sealing‚ and verify the thermostat setting. Unusual noises might indicate a loose component – inspect and tighten as needed. Error codes displayed on the unit signal specific problems; consult the manual for their meanings and recommended solutions. Proper care prevents costly repairs and keeps your AC running smoothly.
Cleaning the Air Filter: Frequency & Procedure
Maintaining a clean air filter is crucial for efficient operation and air quality. GE recommends cleaning or replacing the filter monthly during peak usage‚ or at least every three months. To access the filter‚ typically locate a front panel or grille that slides out.
Remove the filter and vacuum away loose dust and debris. For a deeper clean‚ gently wash the filter with mild soap and water‚ ensuring it’s completely dry before reinstalling. A clogged filter restricts airflow‚ reducing cooling performance and potentially damaging the unit. Regularly cleaning extends the AC’s life and improves indoor air quality‚ contributing to a healthier home environment.

Coil Cleaning: Maintaining Efficiency
The evaporator and condenser coils accumulate dust and grime‚ hindering heat transfer and reducing cooling efficiency. Annual coil cleaning is recommended for optimal performance. First‚ disconnect power! Remove the outer casing to access the coils. Use a soft brush attachment on a vacuum cleaner to gently remove loose debris.
For stubborn dirt‚ a commercially available coil cleaner (specifically designed for AC units) can be applied‚ following the product’s instructions carefully. Avoid bending the delicate fins. Rinse thoroughly with water‚ ensuring all cleaner residue is removed. Clean coils improve airflow‚ lower energy consumption‚ and extend the lifespan of your GE window air conditioner.
Drainage & Water Removal
During cooling operation‚ your GE window AC unit generates condensation. This water is typically collected in a drain pan and either evaporates or is drained outside. Regularly check the drain pan for standing water and debris‚ as this can lead to mold growth and unpleasant odors. Ensure the drain opening isn’t blocked.
Some models feature a drain plug; carefully remove it to empty the pan. Always disconnect power before handling water! If your unit doesn’t have a drain plug‚ tilting the unit slightly (after ensuring it’s securely positioned) can help drain the water. Proper drainage prevents water damage and maintains optimal humidity control.
Common Problems & Their Solutions
Encountering issues with your GE window AC is common. If the unit isn’t cooling‚ check the air filter – a dirty filter restricts airflow. Unusual noises often indicate a loose component or debris in the fan. Verify the unit is securely mounted. Error codes displayed on the control panel signal specific problems; consult the manual for their meanings.
For error codes‚ try resetting the unit by unplugging it for a few minutes. If problems persist‚ avoid self-repair; contact GE customer support. Never attempt repairs while the unit is powered on! Regular maintenance‚ like cleaning‚ can prevent many common issues and extend the AC’s lifespan.
AC Not Cooling Properly
If your GE window AC isn’t cooling effectively‚ several factors could be at play. First‚ inspect the air filter; a clogged filter severely restricts airflow‚ diminishing cooling capacity. Ensure the thermostat is set to the desired temperature and cooling mode. Check for obstructions blocking the outdoor unit’s vents. Verify the window is properly sealed to prevent warm air from entering.
Also‚ confirm the unit hasn’t been running continuously for an extended period – it may need a rest. If the problem persists‚ examine the condenser coils for dirt buildup. Cleaning these coils can significantly improve performance. If issues continue‚ consult the full manual or contact GE support.
Unit Making Unusual Noises
Strange sounds emanating from your GE window AC unit warrant investigation. Rattling often indicates loose panels or components; carefully inspect and tighten any visible screws. Humming could suggest a motor issue or a problem with the fan. Clicking noises might stem from the thermostat cycling on and off‚ which is generally normal.
However‚ loud or persistent clicking could signal a relay problem. If you hear grinding or squealing‚ the fan motor may be failing. Always disconnect power before inspecting internal components. Refer to the manual’s troubleshooting section for specific noise diagnoses. If the noise is severe or concerning‚ contact GE customer support for assistance.
Error Codes & What They Mean
GE window AC units utilize error codes to signal specific malfunctions‚ aiding in diagnosis and repair. A common code‚ “E1‚” often indicates a temperature sensor issue‚ requiring professional attention. “E2” frequently points to a communication error between the control panel and the unit’s internal systems. “E3” may signify a fan motor failure or obstruction.
Consult your specific model’s manual for a complete list of error codes and their corresponding solutions. Do not attempt repairs if you are uncomfortable working with electrical appliances. Ignoring error codes can lead to further damage. Contacting GE customer support with the error code readily available will expedite the troubleshooting process and ensure accurate assistance.
Advanced Features & Settings
Beyond basic cooling‚ GE window AC units often include advanced features for enhanced comfort and efficiency. Energy Saver Mode adjusts cooling output to minimize energy consumption‚ ideal for nighttime use or when the room isn’t fully occupied. Sleep Mode gradually increases the temperature overnight‚ preventing excessive cooling and promoting restful sleep.
Many models feature a programmable timer‚ allowing you to schedule operation based on your needs. If your unit includes a remote control‚ explore its functionalities for convenient adjustments from across the room. Understanding these settings optimizes performance and reduces energy bills‚ maximizing your cooling experience.
Energy Saver Mode & Its Benefits
GE’s Energy Saver Mode intelligently manages cooling cycles to reduce electricity usage without significantly sacrificing comfort. This mode operates by cycling the fan on and off‚ allowing the temperature to fluctuate slightly while minimizing continuous compressor operation. The primary benefit is a noticeable reduction in your energy bill‚ particularly during extended use.
Activation is typically simple‚ often accessible via a dedicated button on the control panel or remote control. While cooling may not be as consistently intense as in standard mode‚ it provides a comfortable environment while prioritizing energy conservation. It’s an excellent choice for periods when consistent‚ precise temperature control isn’t crucial.

Sleep Mode Operation
GE’s Sleep Mode is designed to create a more comfortable sleeping environment by gradually increasing the set temperature over a specified period. This prevents the unit from working excessively hard throughout the night and avoids overly cold temperatures that can disrupt sleep. Typically‚ the temperature increases by 1-2 degrees Fahrenheit per hour.
Activation is usually straightforward‚ often accessible through a dedicated button on the remote control or the air conditioner’s control panel. Sleep Mode also often features a quieter fan speed‚ minimizing noise disturbance. It’s an ideal setting for bedrooms‚ ensuring a peaceful and energy-efficient night’s rest. The mode automatically adjusts for optimal comfort and savings.
Remote Control Functionality (If Applicable)
If your GE window AC includes a remote control‚ it offers convenient operation from across the room. Common functions accessible via the remote include power on/off‚ temperature adjustment‚ fan speed control (low‚ medium‚ high)‚ mode selection (cool‚ fan‚ dry)‚ and sleep mode activation. Some remotes also feature a timer function for scheduled operation.
Ensure proper battery installation for optimal performance. Point the remote directly at the air conditioner’s control panel for reliable communication. Lost remotes can often be replaced through GE’s customer support or authorized retailers. Familiarize yourself with the remote’s layout for effortless control of your cooling experience‚ enhancing convenience and comfort.
Warranty Information & Support
Your General Electric window air conditioner is backed by a GE warranty‚ offering peace of mind against manufacturing defects. Warranty coverage details typically include a one-year limited warranty for parts and labor. Be sure to register your appliance promptly after purchase to activate the warranty. Retain your proof of purchase for warranty claims.
For assistance‚ contacting GE customer support is straightforward. Visit the GE Appliances website for online support‚ FAQs‚ and troubleshooting guides. Alternatively‚ you can reach them via phone or email. Have your model and serial number readily available when contacting support for efficient assistance. GE is committed to providing reliable support throughout the lifespan of your appliance.
GE Warranty Coverage Details
The GE warranty for your window AC generally covers defects in materials and workmanship for one year from the date of original purchase. This includes parts and labor to repair or replace defective components. The warranty excludes damage caused by improper installation‚ misuse‚ accidents‚ or normal wear and tear. Commercial use voids the warranty.
Specifically‚ the warranty doesn’t cover filters‚ which require regular cleaning or replacement. Any modifications or repairs performed by unauthorized service providers will also invalidate the warranty. To make a claim‚ you’ll need proof of purchase and a detailed description of the issue. Contact GE Appliances directly to initiate the warranty process and schedule service.
Contacting GE Customer Support
For assistance with your GE window AC‚ several avenues are available. You can reach GE Appliances customer support via phone at 1-800-626-2000. Their website‚ www.geappliances.com‚ offers a comprehensive FAQ section‚ troubleshooting guides‚ and the ability to schedule service online. Live chat support is also frequently available through the website for immediate assistance.
When contacting support‚ have your model number and serial number readily available. This information is crucial for accurate assistance. Be prepared to describe the issue in detail‚ including any error codes displayed. GE also provides support through social media channels like Twitter (@GEAppliances) and Facebook‚ though response times may vary.